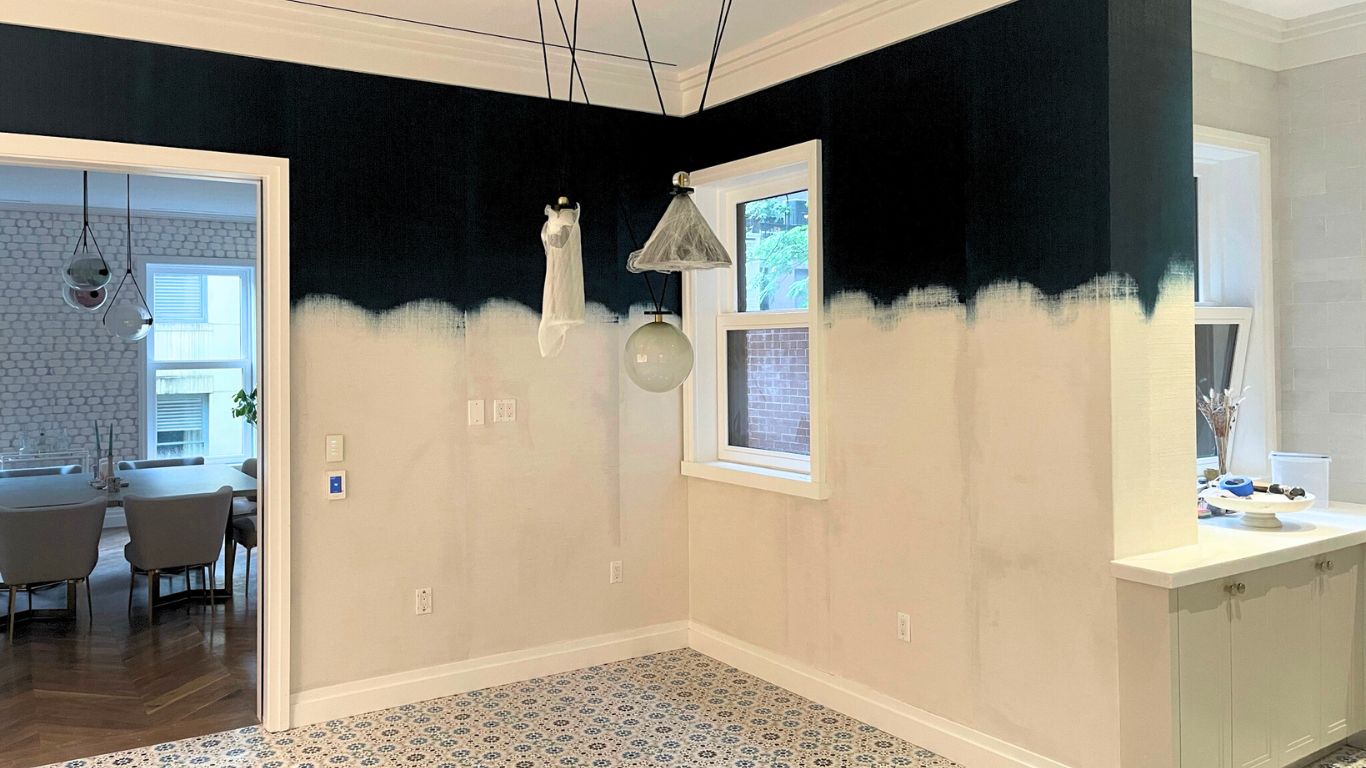
Introduction:
Wallpaper can add a touch of elegance and personality to any space, but when it’s time for a change, the task of removing wallpaper glue can seem daunting. Thankfully, with the right techniques and a little patience, you can successfully remove wallpaper glue without damaging your walls. In this guide, we will walk you through the step-by-step process to help you master the art of wallpaper glue removal.
Step 1: Prepare the Area
Before you begin, ensure that you have adequate ventilation in the room. Open windows and use fans as necessary. Lay drop cloths or plastic sheets to protect your flooring and furniture from any potential mess.
Step 2: Gather the Necessary Tools
To effectively remove wallpaper glue, you will need a few essential tools. Gather the following items before you get started:
- Plastic Putty Knife or Scraper: This will be used to gently scrape off the wallpaper glue.
- Bucket of Warm Water: Warm water will help to loosen the adhesive.
- Sponge, Spray Bottle or Wallpaper Steamer: Sponge and spray bottle would be the manual way of removing the wallpaper and the steamer can help accelerate the removal process.
- Wallpaper Remover Solution: This commercially available solution can aid in softening and dissolving the glue.
Step 3: Test a Small Area
Before proceeding with full-scale wallpaper glue removal, it’s important to test a small area to ensure that your walls can withstand the process. Use the putty knife to gently scrape a small section of paper away. If the walls remain undamaged, you can move forward with confidence.
Step 5: Scrape off the Glue
Once the glue has softened, begin gently scraping it off with the plastic putty knife or scraper. Work in small sections, applying light pressure to avoid damaging the walls. If necessary, reapply warm water or the wallpaper remover solution to loosen stubborn spots.
Step 6: Repeat and Rinse
Continue softening and scraping off the glue in small sections until you have removed it from the entire wall. Once all the glue has been removed, use a clean sponge or cloth dampened with warm water to wipe down the walls and remove any remaining residue.
Step 7: Dry and Inspect the Walls
Allow the walls to air dry completely, plaster and sand as needed. Carefully inspect the walls and if necessary, repeat the process in specific areas until the walls are clean and smooth. Don’t forget to prime it before applying paint or installing desired wallpaper.
Conclusion:
Removing wallpaper glue may require some time and effort, but with the right approach, you can achieve satisfying results. By following this step-by-step guide, you can master the art of wallpaper glue removal and prepare your walls for a fresh new look. Remember to be patient, take breaks when needed, and prioritize the well-being of your walls. Now, armed with this knowledge, you’re ready to transform your space with confidence and creativity. If you need professional help, please contact us at our website. Happy decorating!

